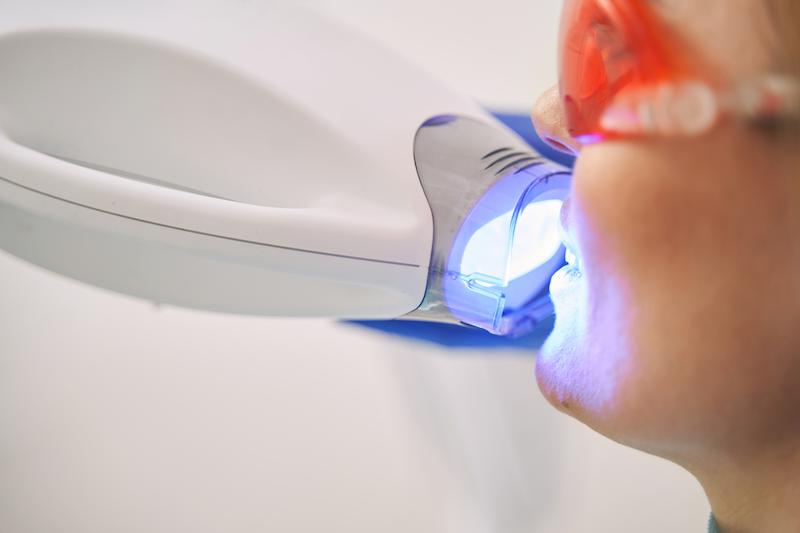
Did you know that you can whiten your smile by 2-3 shades in just 20 minutes? Not only that, but professional teeth whitening procedures are also needle-free and do not require the use of a dental drill. Instead, the process is as simple as applying the whitening agent, turning on an LED light, and just sitting back

How to use LED bleaching kit?
1. Clean the teeth with a brush and floss between the teeth. It opens up more tooth surface for whitening.
2. Connect the LED lamp to the bleaching tray after checking that the batteries are OK and the device is working.
3. Place whitening gel inside the clear braces. It is not necessary to put much, just enough to cover the front of the teeth.
4. Dry the teeth well with the help of a tissue or a dry towel, the saliva can prevent the whitening agent from penetrating into the teeth.
5. Put the whitening tray in your mouth and press gently with your teeth to help it settle.
6. Check in the mirror that the gel begins to spread and cover all the front surfaces of your teeth.
7. If excess whitening gel comes out of the splints, wipe it immediately with a towel.
8. Turn on the LED bleaching lamp. The device is equipped with a timer that will stop in 10 minutes.
9. After 10 minutes, look in the mirror and check that there is enough wave covering the front of the teeth. And that it is evenly and uniformly distributed. If it is missing, you can add more gel.
10. Press the device again to turn on the LED lamp for another 10 minutes.
At the end of the 20 minutes, the bleaching tray can be removed from the mouth. Wash and store.

General instructions
- At the end of the whitening process, the teeth and the brace should be washed with lukewarm water. (After disassembling the LED lamp from the bracket so that it does not get wet).
- Don’t brush your teeth right after LED bleaching. The teeth are porous and sensitive. Wait half an hour to an hour and then you can brush.
- Store the bleaching tray and the LED lamp in a cool and dry place. Heat can destroy the brace and moisture can destroy the LED lamp.
- The bleaching gel is recommended to be kept in the refrigerator or in a cool place, not to be stored in the freezer.
- If for some reason you have to stop the LED bleaching process in the middle, first turn off the LED lamp and then take the bleaching tray out of your mouth.
- Some patients find their teeth whiten unevenly and take on a chalky or milky appearance. It will return to a normal transparent appearance 2-3 weeks after the LED bleaching is stopped.
- Whitening only works on natural tooth material, therefore white fillings and crowns or coatings will not change their color.
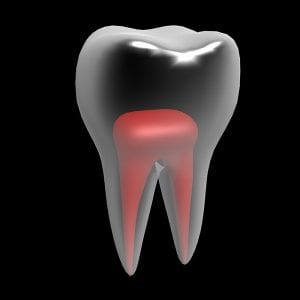
- Some of the patients with the LED bleaching method suffered from hypersensitivity in their teeth. An increased feeling of hot and cold or of a mild dull pain that lasts a few hours after whitening. Also, some patients suffered from gum irritation. We design the whitening braces to simply cover the teeth to prevent gum coverage and minimize this side effect. If you suffer from one of these side effects, shorten the whitening cycle to 10 minutes. In addition, you can use a fluoride mouthwash or use an anti-sensitivity ointment. This reaction to the bleaching process is short-term and will disappear after the bleaching process is complete.
- The leaflet included with your kit provides information on how to use this kit.
If you need any further help call us >>> +972772177771
Or text us via WhatApp >>> Press here!

Part 1 of the user guide in the following link
Read now >>> LED teeth whitening: user guide 1